Pre-Planting Considerations
Before selecting a plant for a particular spot in the garden, you need to evaluate the conditions of the area. Assess the functions, growing season, light, wind, soil type, and any physical limitations such as eaves, overhangs, or a tree canopy. When assessing the soil type, it is a good idea to dig a test hole and confirm the draining capability of the soil. This is done by digging a hole 12 inches deep, filling it with water, and observing how long it takes to drain. If the hole does not drain in 6-8 hours, the drainage is extremely poor and extra care should be taken in selecting a plant for that area.
Planting Instructions

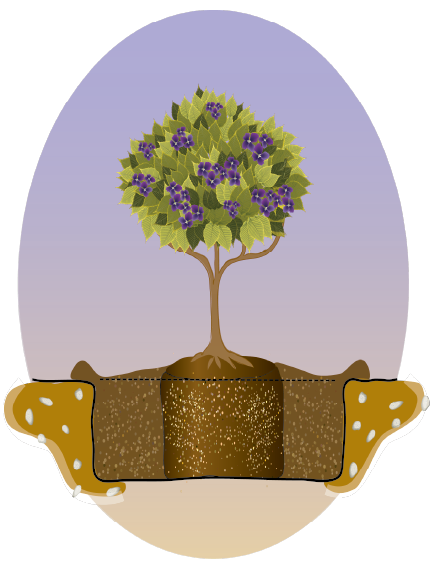
Dig the hole at least twice the diameter of the container that the plant is in, but no deeper than the height of the root ball. It is important that the top of the root ball of plant be 1-2 inches, (1/2 inch for a 1-gallon or 4-inch plant) above the level of the surrounding soil when you are finished.
Carefully remove the plant from the container and loosen the root ball by gently pulling, tearing, or cutting the outer roots in 3-4 spots around the root ball.*
Place the plant in the hole. Be sure that the top of the root ball is above the level of the soil in your garden as illustrated to the right.
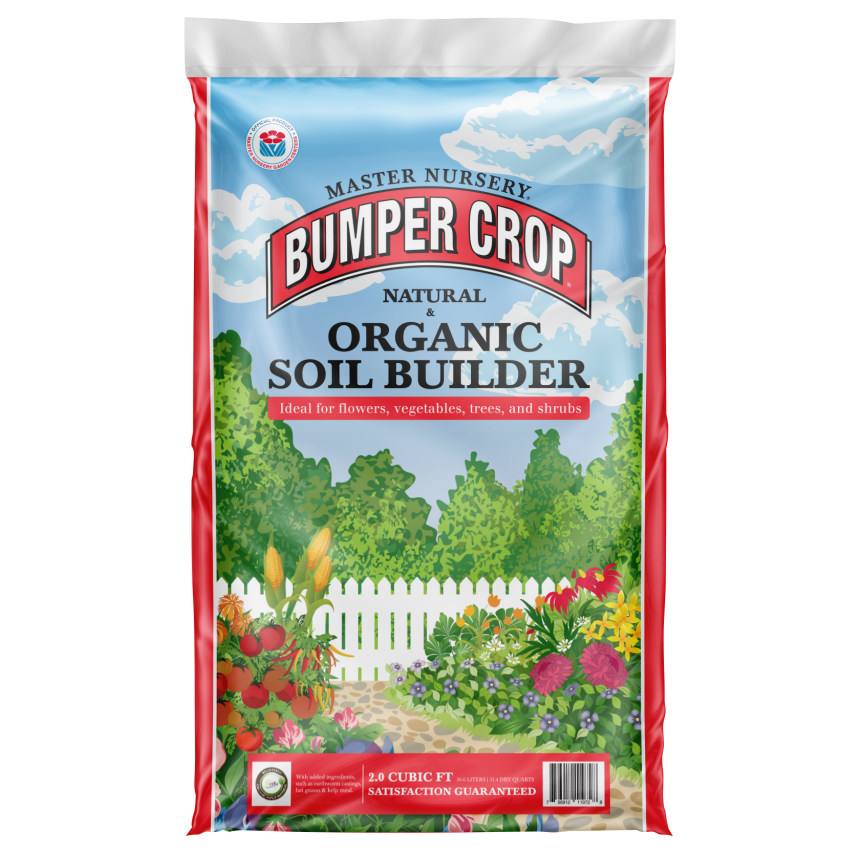
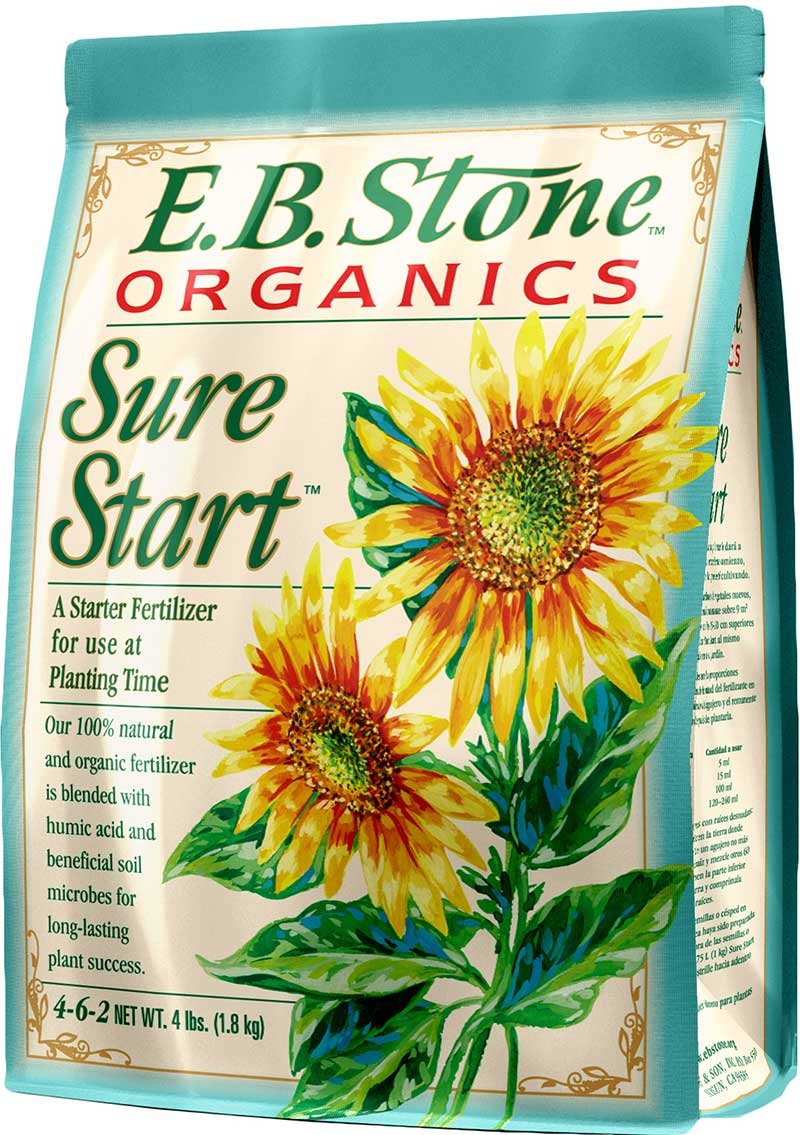
Use a planting amendment such as Master Nursery’s ‘Bumper Crop Soil Builder’ to add needed organic matter to your soil. Blend the appropriate amount of starter fertilizer (like E.B.Stone’s ‘Sure Start’) and the amendment with the native soil that was removed from the hole at the ratio of 25% amendment to 75% native soil.*
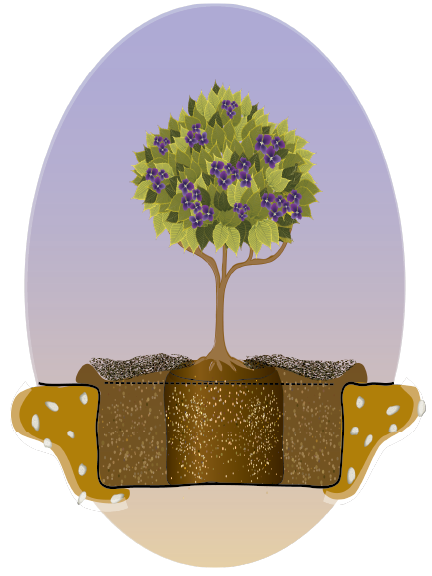
Backfill with the amended soil, tamping down as you go.
Build a water dam around the edge or drip line of the plant.
Water by filling the dam slowly, allowing the water to soak in deeply. Some settling of the soil may occur. If so, bring the soil level back up to the top of the root ball. Do not allow water to stand around the base of the stem or trunk.
*Please note alternate instructions on this page for Japanese Maples, Rhododendron, Azaleas, Camellias, Roses, Protea, Leucadendron, vines, and similar plants
Mulching
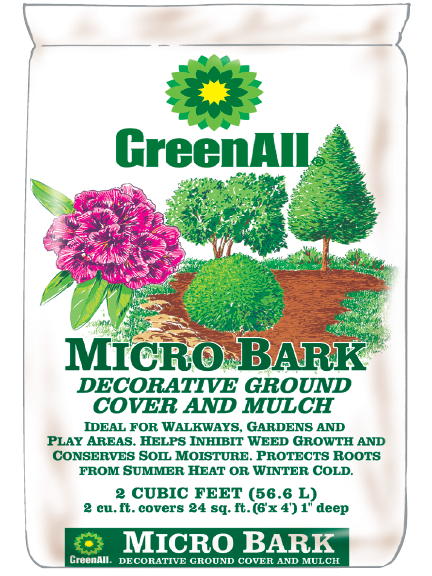
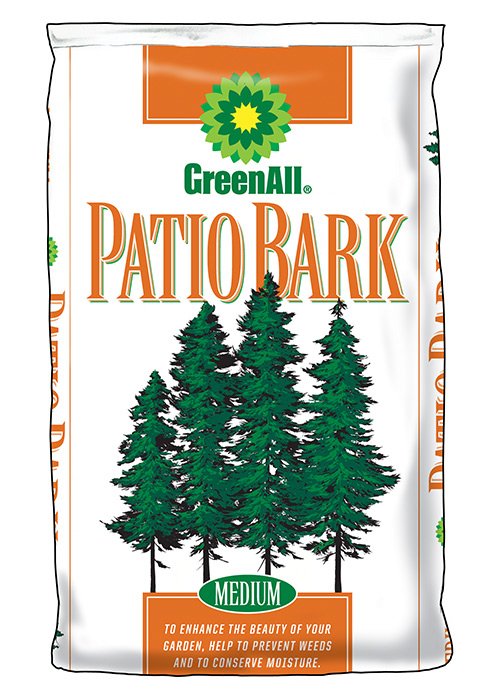
Apply a 2-3 inch layer of mulch, such as GreenAll’s ‘Patio Bark’ or ‘Micro Bark’. This will keep the roots cool and lessen watering needs.
Keep the mulch 4 inches away from the trunk of the plant to prevent possible crown and/or root rot.
Watering Considerations & Post-Establishment Care
The SF Bay Area has a Mediterranean climate, so watering needs to be done on a regular basis during our long dry season. Ideally, each plant should be watered slowly and deeply. This encourages proper rooting and will lead to strong root growth.
Check the moisture level in the soil before watering. Do not water until the top 2-3 inches (1/2-1 inch for a 1-gallon or 4-inch sized plant) of the root ball is dry.
Please be aware that the watering needs of new additions to an established landscape will be different. Do not adjust the entire garden’s watering system for the new plant(s), but rather check the new plants daily to be sure they are receiving the appropriate amount of water.
It usually takes 6-8 weeks for a new plant to become established enough for it to survive on the watering regime of the rest of the garden.
After the plant is established and beginning to grow in its garden location, fertilize with a product such as Master Nursery’s ‘Formula 49’ or E.B. Stone’s Organic ‘All Purpose Plant Food’.
Feed in early spring and again in mid-summer.
Do not fertilize after the middle of August — this may cause a new flush of growth and inhibit the plant’s ability to enter dormancy in the cooler months.
In alkaline soils, apply an application of a soil acidifier at the time of planting. Additional applications may be needed if the plant does not respond to fertilizer.
Staking Guide
It is nearly impossible to grow some plant species in containers without staking them when they are young. The staking technique used is vital to the health of the plant after it is transplanted. A properly staked plant will allow movement of the main trunk(s). This movement encourages the plant to develop thicker, self-supporting trunk(s) more quickly and in a more healthy manner than one that is staked tightly.

Grab the plant 25-30% of the way up the trunk and slide your hand up until you find a balancing point for the head of the tree. At this spot, loop the first tie around the trunk and tie it to one stake. Ideally this will be at or below the mid-point of the trunk. Some slack, 1-2 inches, should be left in the wire to allow movement of the plant.
Loop the second tie through the first and around the trunk. This will interlock the ties and prevent them from sliding down. Attach the wire to the second stake, leave the same amount of slack as that which was left in the first wire.
Remove the stake and ties when the plant is established and able to stand on its own, typically in 6-8 months. In some instances, 1-2 years of staking may be required for proper trunk development. If the stakes remain for more than 6 months, remove and reposition the ties either a bit further up or down the trunk to avoid damaging to the bark.
proper Steps to Staking
Once your plant is properly planted, hammer in two stakes, one on each side of the tree just outside of the root ball of the plant. The placement of the stakes should be aligned parallel to the direction of any prevailing winds and be driven into the undisturbed soil below the planting hole. The two stakes and the trunk should be aligned in a straight line.
Prepare your rubber ties by attaching wire to their ends. Be sure the wires are long enough to reach and wrap around the stakes.
Remove the stake that came on the plant. The plant may need you to support the head if the trunk wants to bend or lay down.
Alternate Planting Instructions
Acid-Loving Plants
Japanese Maples, Rhododendrons, Azaleas, Pieris, Camellias
As these plants typically do best in well-drained, acidic soils that are rich in organic matter, increase the percentage of amendment to native soil to a 50-50 mix. Add roughly a 1/2 to 1 cup ‘F.S.T.’ and the recommended amount of starter fertilizer to the blended soil before backfilling. These plants become susceptible to diseases in heavy soils that do not drain or breathe well; proper site selection is of upmost importance. Creating and planting into a mound or berm will improve the drainage and ultimately, the health of the plant. Consider the mature size of the plant when building your mound and scale it accordingly.
Plants with Sensitive Roots
Bougainvillea, Cercis, Most Vines
Plants with sensitive roots should be handled with extreme caution. Do not remove these plants from their containers by pulling them by the trunk or stake. It is best to gently tip the plant and let it slide from its container. You can also cut the plant from its container by making 2-3 vertical slits through the container and then lifting the plant out. Do not loosen or disturb the root ball even when you encounter root bound plants.
Dry Climate and Some CA Native Plants
Protea, Leucadrendron, Native Chaparral Plants, Cactus And Succulents
Plants that are indigenous to areas with very poor soil conditions prefer little to no organic matter or fertilizer to grow successfully. Many of our amendments are rich in manures and compost, just what these plants dislike. As an alternative, use pumice in place of the other amendments. Pumice will loosen the soil without providing a surge of nutrients to the plants. This will give these plants the best chance for survival. Read More Here
Successful Gardening Starts Here: